7-Step Checklist for Inspecting a Dehumidifier BEFORE You Buy: Avoid Regret
28/05/2024
You've spent a lot of time researching and have chosen a dehumidifier model you like. But how can you be sure that the machine you are about to receive is a perfect, 100% new product, without a single flaw and with all its documents?
Inspecting the product before payment or upon delivery is a crucial step that is often overlooked. Risks such as receiving a display unit, a machine scratched during shipping, missing accessories, or worse, a faulty product, can lead to a troublesome return or warranty process.
A thorough inspection helps you get a perfect dehumidifier.
With our expertise, DeAir would like to share a detailed 7-step checklist to help you confidently "appraise" your dehumidifier like an expert.
PART A: PHYSICAL & OVERALL INSPECTION (5 STEPS)
Step 1: Check the Packaging and Exterior
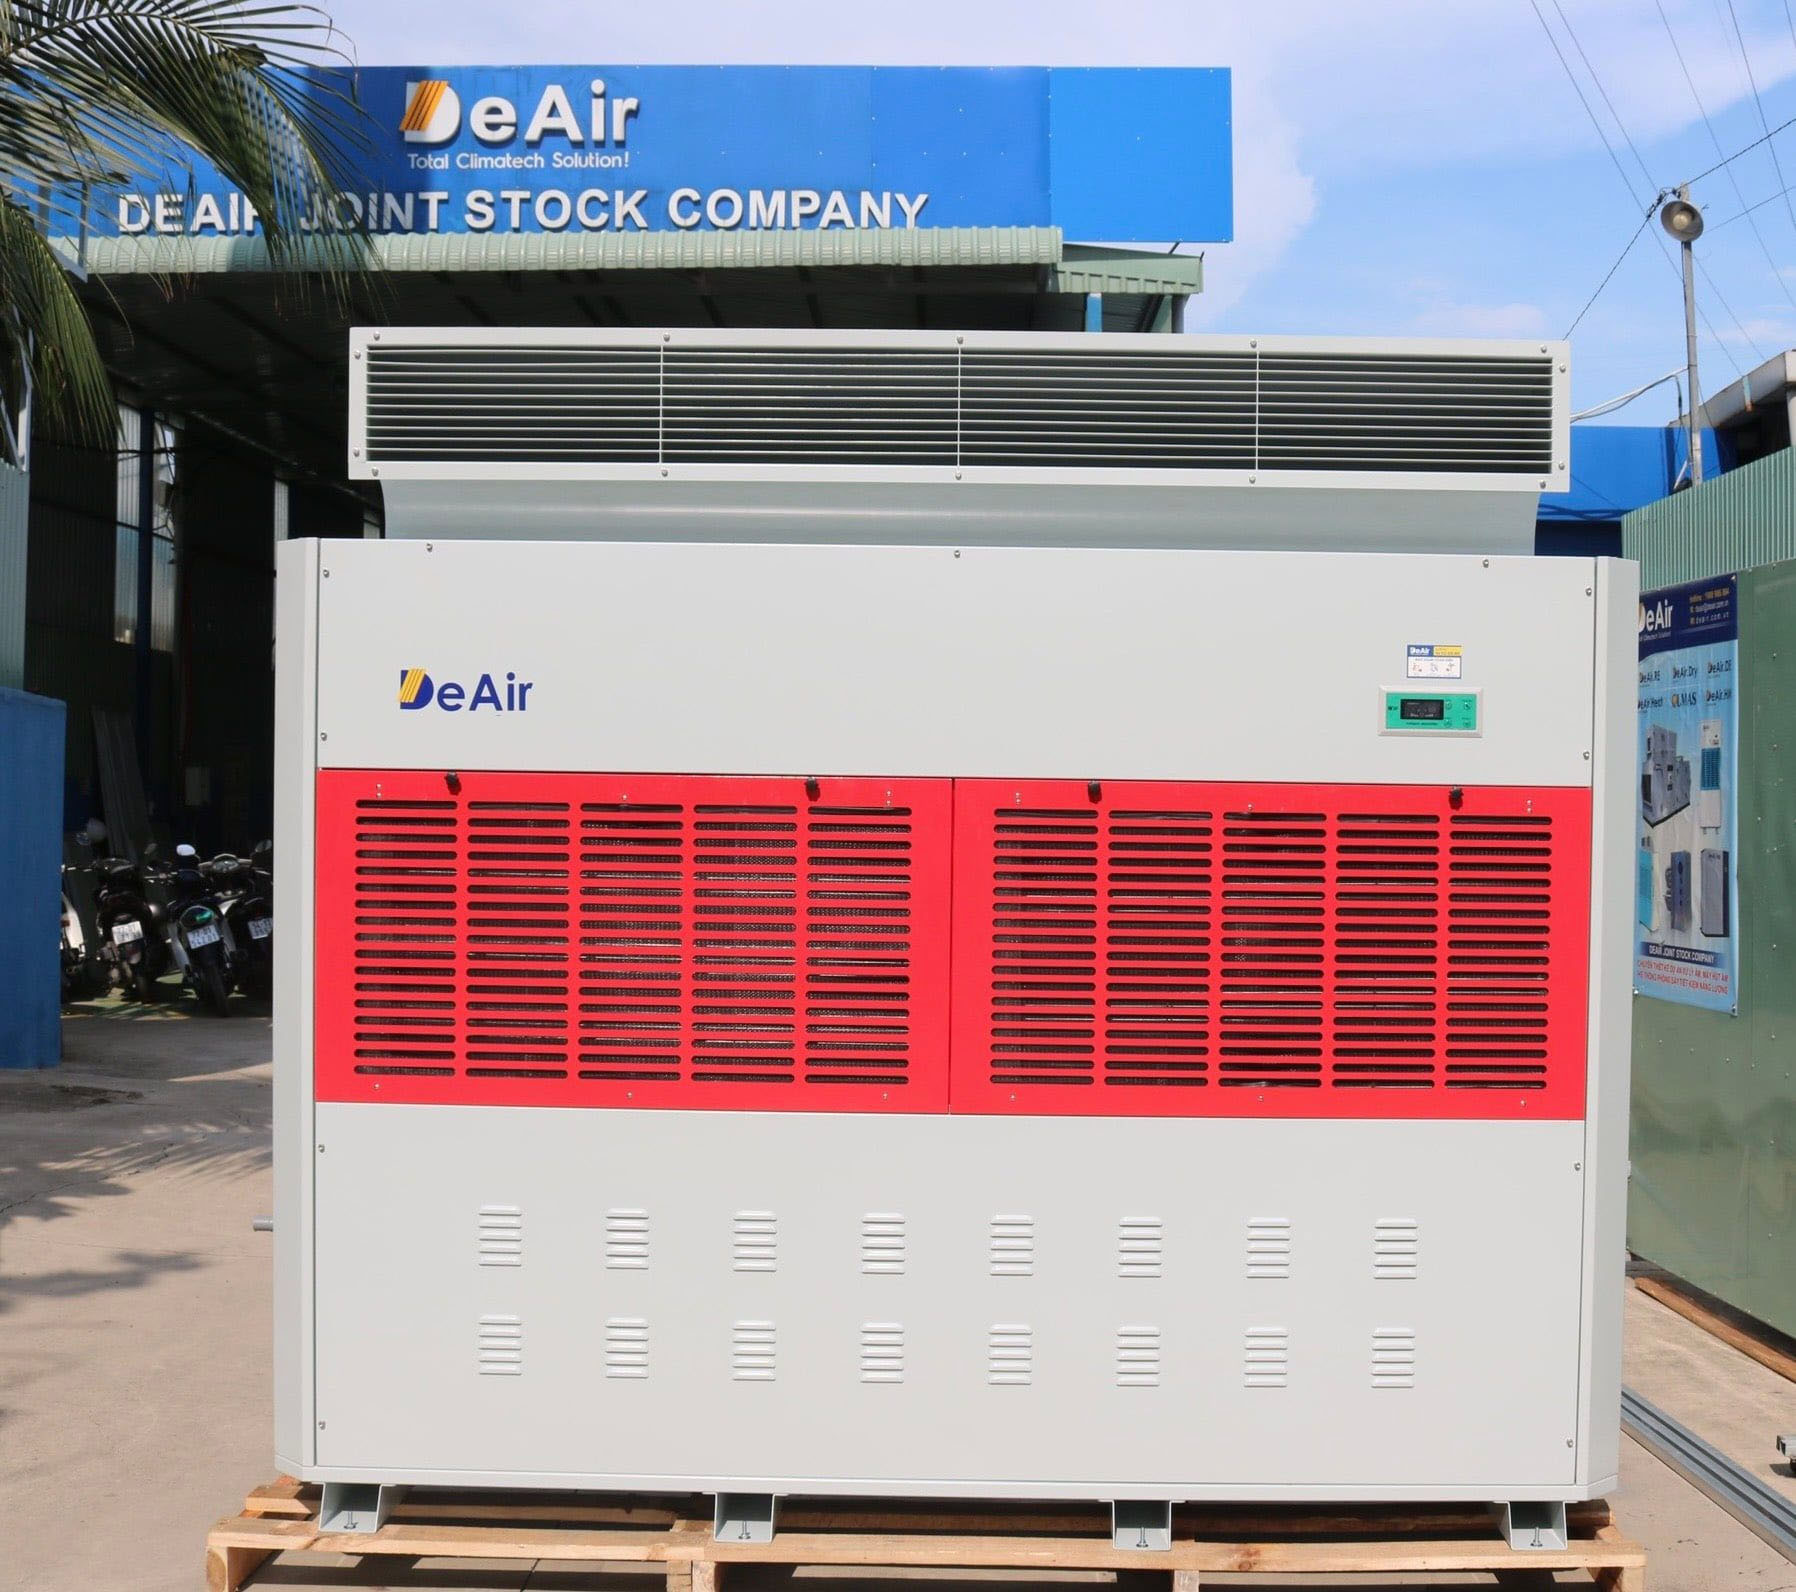
This is the first sign of a new product. Ensure the box is intact, not dented or wet, and still has the manufacturer's seal. When unboxing, check if the machine is carefully packed with styrofoam and plastic wrap. Closely inspect the machine's body to ensure the paint is glossy and there are no scratches, cracks, or breaks.
Step 2: Check the Noise and Vibration During Operation
Ask to plug in the machine and run it. Listen carefully for any unusual "rattling" or "clanking" noises from the compressor. A slight vibration from the body is normal, but if it shakes heavily, the machine could be faulty. This is a critical step to ensure quiet operation, especially if you plan to place the unit in a bedroom. Learn more about dehumidifier noise levels here.
Checking the noise and vibration is a step that cannot be skipped.
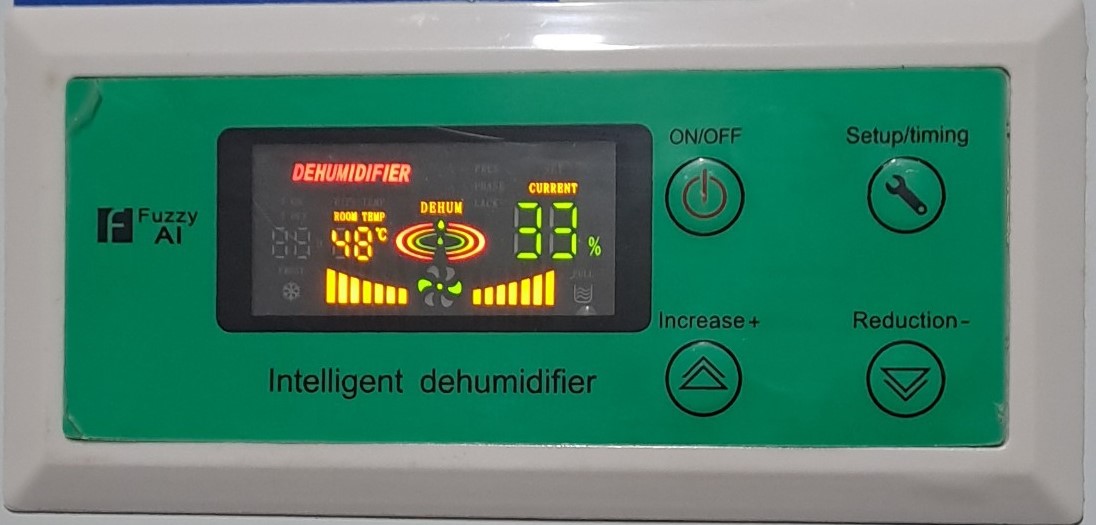
Step 3: Check the Control Panel and Function Keys
Press each button on the control panel one by one: power, timer, humidity up/down, fan speed, different modes (e.g., clothes drying, air purifying...). Check that the buttons have good tactile feedback and are not stuck, loose, or malfunctioning. The display screen should be bright and clear, with no dead pixels or flickering.
The control panel must be responsive, and the buttons flexible.
Step 4: Check Removable Parts (Filter, Water Tank)
Try removing and reinstalling the air filter. The joints should be secure and the process easy, which will be convenient for future cleaning. Similarly, check the water tank for any cracks or leaks, and ensure the full-tank float switch (if present) is responsive.
Step 5: Check the Power Cord and Plug
This is a basic safety check. The power cord must be sturdy, with no signs of being bent or having a frayed cover. The plug must be a standard type that fits the outlets in your country.
PART B: CHECKING DOCUMENTS & ACCESSORIES (2 STEPS)
Step 6: Check for All Included Accessories
Compare the received accessories with the list in the user manual. Make sure you are not missing any items, especially the continuous drainage hose – a very important accessory that saves you from having to manually empty the water.
Step 7: Verify Documents (Warranty Card & User Manual)
This is the final step to protect your rights. Check if the serial number on the machine matches the one on the warranty card. The card must have complete information from the distributor, a clear stamp, and the correct warranty period. See details of DeAir's warranty policy here.
Carefully check the information on the warranty card to ensure your rights.
Conclusion: Buy with Confidence from a Reputable Distributor
Spending 5-10 minutes to perform these 7 checks will save you a lot of time, money, and unnecessary hassle later on. Most importantly, choosing to buy from an official, reputable distributor like DeAir will help you eliminate most of these risks. We guarantee that every product that reaches our customers is genuine, 100% new, in its original sealed packaging, with a transparent warranty policy and a technical team ready to assist.
If you're still wondering which model to choose, contact DeAir today. Our experts will advise you on selecting the most suitable machine!


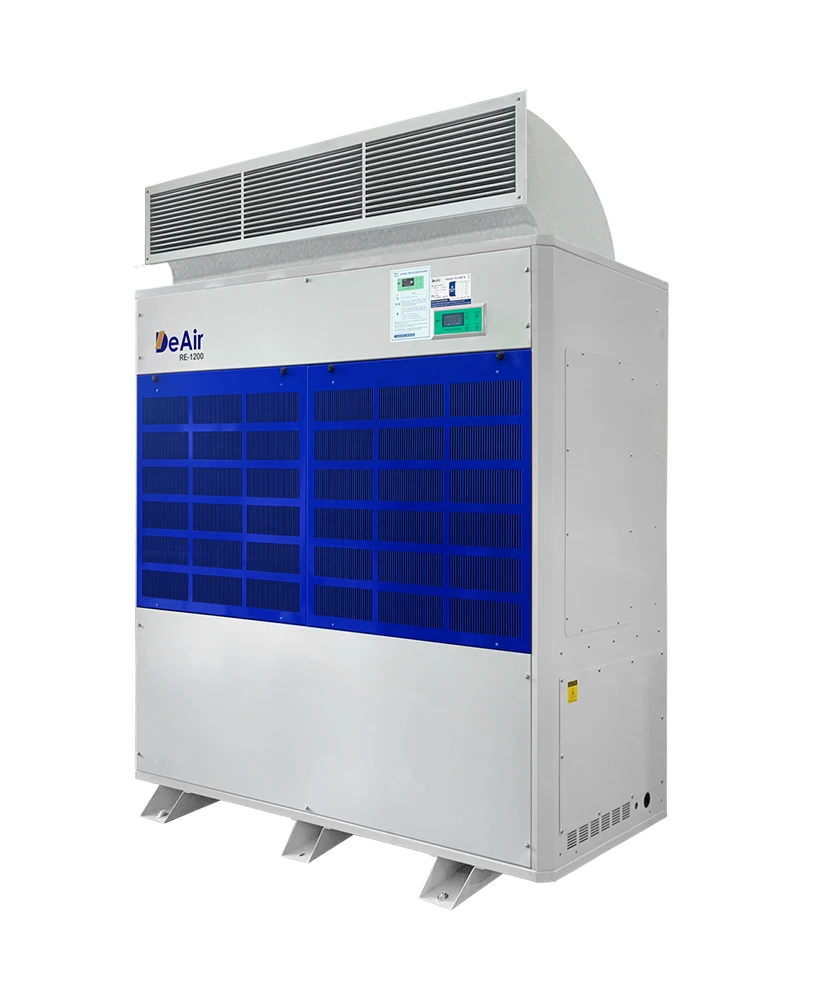 DeAir.RE
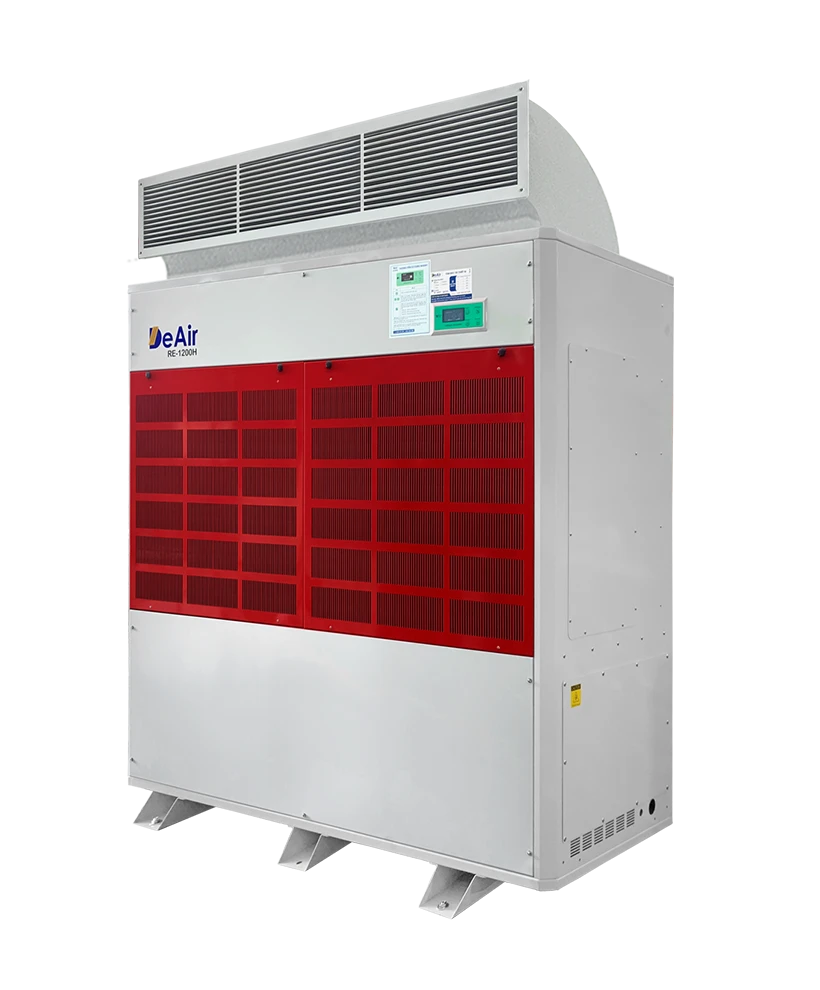 DeAir.RE-H
 DeAir.RE-INOX
 DeAir.CRE
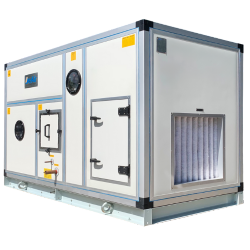 Dezenno
 DeAir.RE-CL
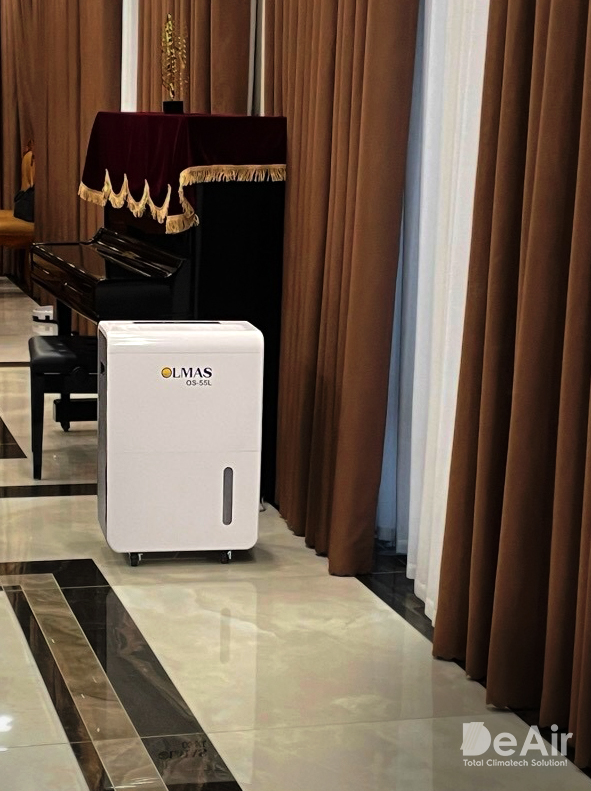
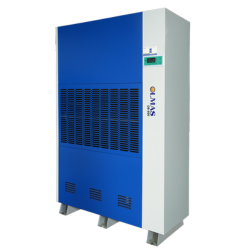 Olmas-OS
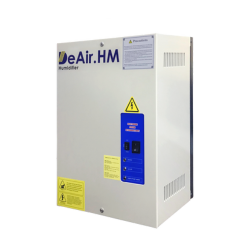 DeAir.HM
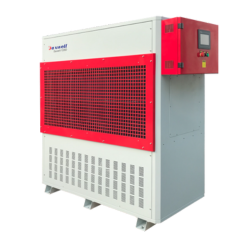 Daxwell
 DeAir.Heat
 AHU
AHU


![[Case Study] DeAir Installs DeAir.De Rotor Humidity Control System for Pharmaceutical Plant in Binh Duong](https://deair.com.vn/thumbs/news/2023_04/ban_giao_may_cho_duoc_bd/[270x153-cr]image1-1024x772.jpg__cv.webp "[Case Study] DeAir Installs DeAir.De Rotor Humidity Control System for Pharmaceutical Plant in Binh Duong")

![[Review & Guide] Olmas OS-300: The New Humidity Control "Warrior" for Medium to Large Warehouses](https://deair.com.vn/thumbs/news/huong_dan_su_dung_may_olmas_21/[270x153-cr]vtm06440.png "[Review & Guide] Olmas OS-300: The New Humidity Control \"Warrior\" for Medium to Large Warehouses")